मनोरंजन बॉक्स ऑफिस पर धमाका या पिटाई? वरुण धवन की 'बेबी जॉन' ने मचाई सनसनी! by News Desk 15 January 2025
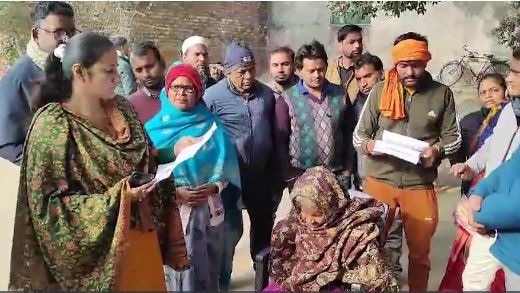
उत्तर प्रदेश थाईलैंड में भारतीय महिला की संदिग्ध मौत: क्या है पूरा मामला? by News Desk 15 January 2025
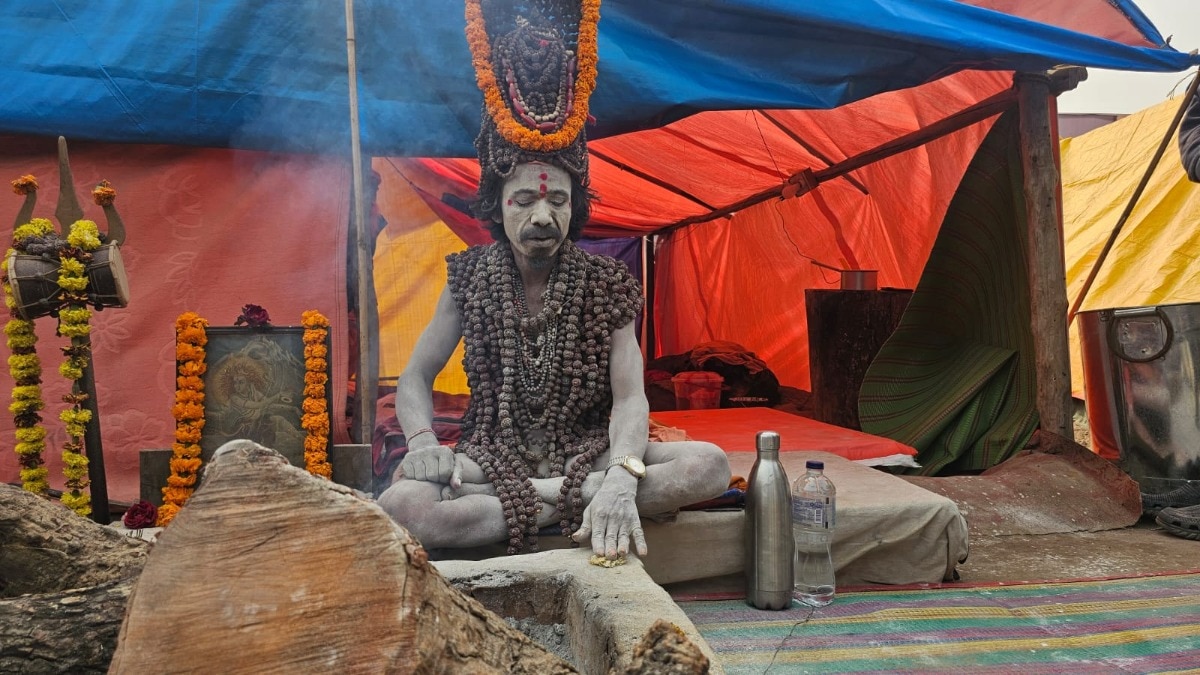
उत्तर प्रदेश महाकुंभ का रंग: 1.25 लाख रुद्राक्षों से सजा नागा साधु का अद्भुत जीवन by News Desk 15 January 2025